Decomposing the TodoMVC app with state diagrams
Most probably you've already heard about TodoMVC. Its purpose is to demonstrate how a to-do list may be implemented in various frameworks and languages.
In this post, we'll identify verious states of this famous demo app. As it turns out, they are not only helpful to understand the requirements, but may also be used to actually implement the application!
Let's start!
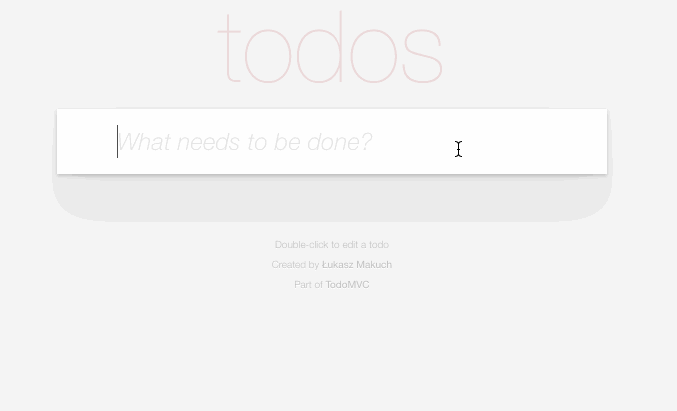
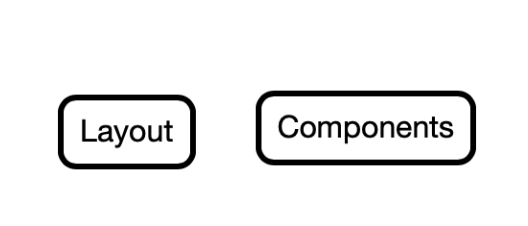
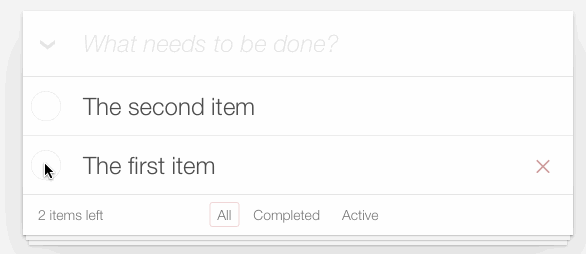
When there are no items, only the form is visible. But as soon as there's at least one item, the list and the controls become visible. We can recognize different layouts and components. Here's what it looks like:
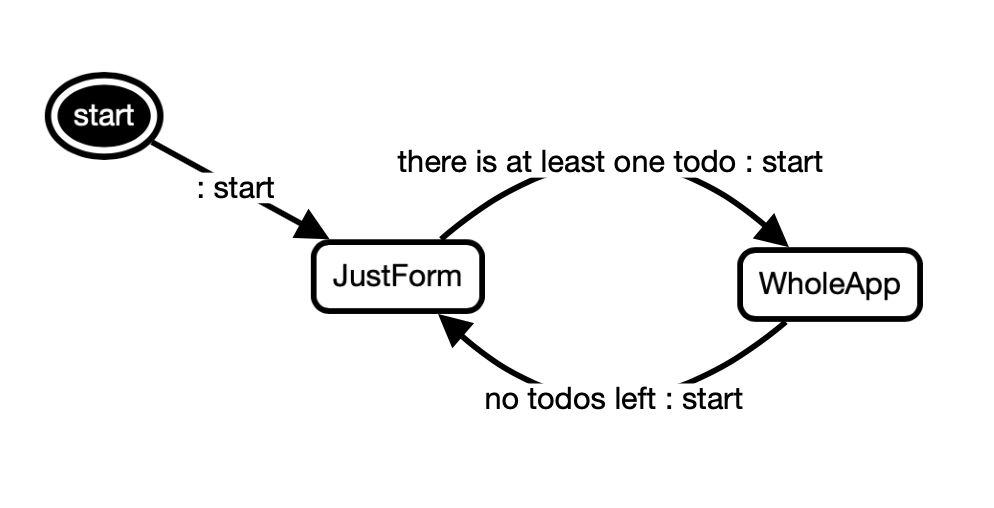
There are two layouts:
- just the form
- the whole app
They are represented as a graph:
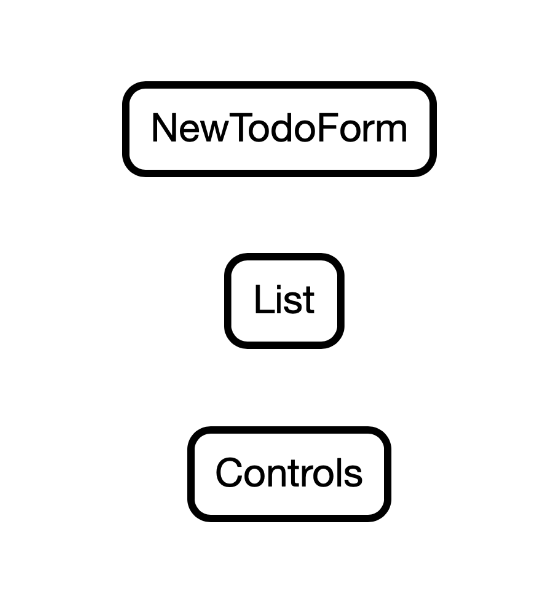
We have three main components:
- the new todo form
- the list of todos
- all the various controls
Because they are simultaneously active and we never switch from one component to another, they are represented as three orthogonal regions:
In our implementation, on the highest level, the TodoMVC app consists of two orthogonal regions, that is a layout and a bunch of components.
In the editor, they look similar to the components, because they are also orthogonal regions:
This is the form used to add a new todo:

We are not allowed to add a new, empty todo. In other words, the behavior of an empty form differs from the behavior of a filled-in form. In order to be able to assign adding a todo only to a filled-in form, we model this form as a graph with two states:
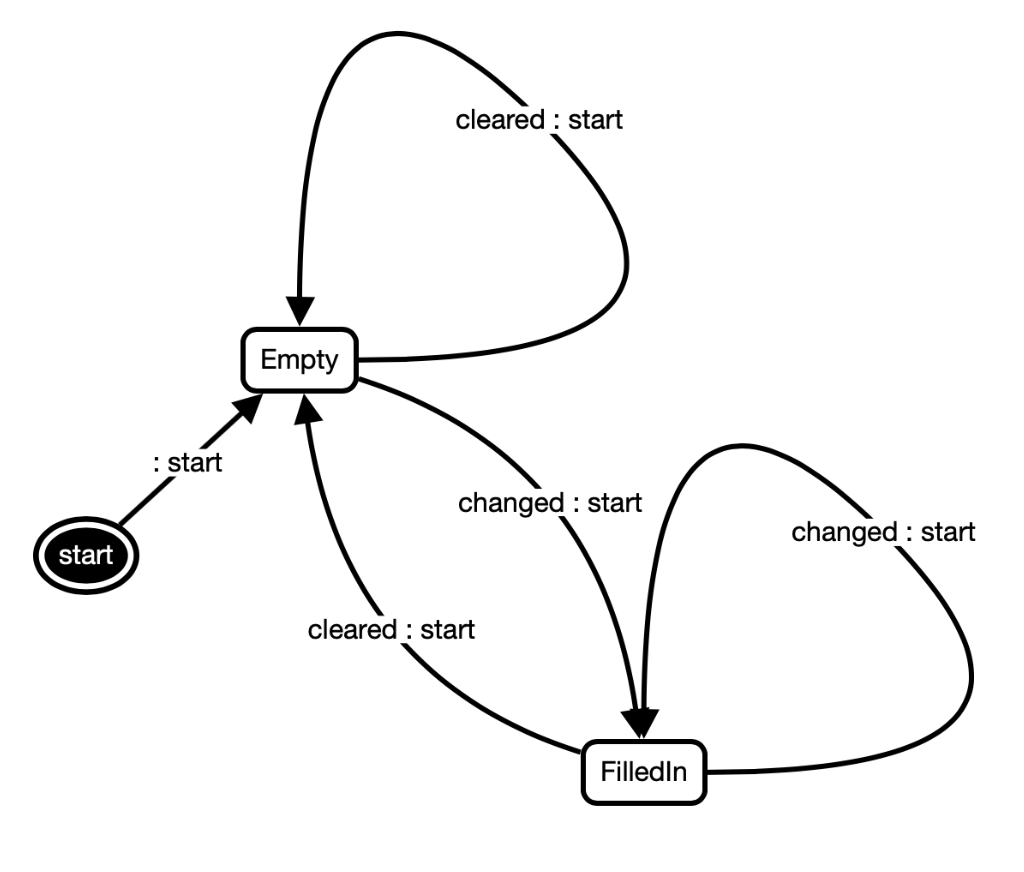
Only the FilledIn one actually adds todo items, while the Empty one never does it.
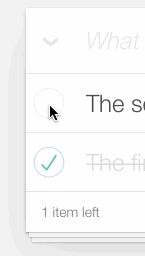
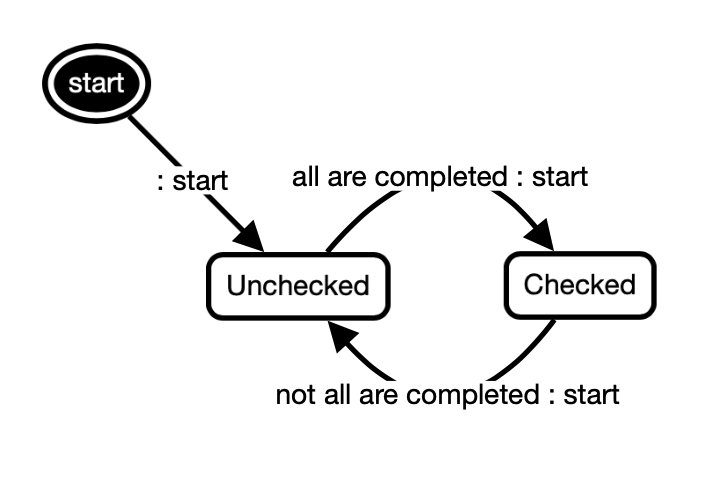
There's a checkbox on the left side of the form:
When all items are completed, it's checked and clickig it marks all the items as active.
When not all items are completed, it's unchecked and clicking it marks all the items as completed.
It's something that may be expressed as a graph:
In the bottom right corner of the app there's a button that appears only when there's at least one completed item.
Clicking it removes all the completed items.
In the Rosmaro editor it looks like this:
![]()
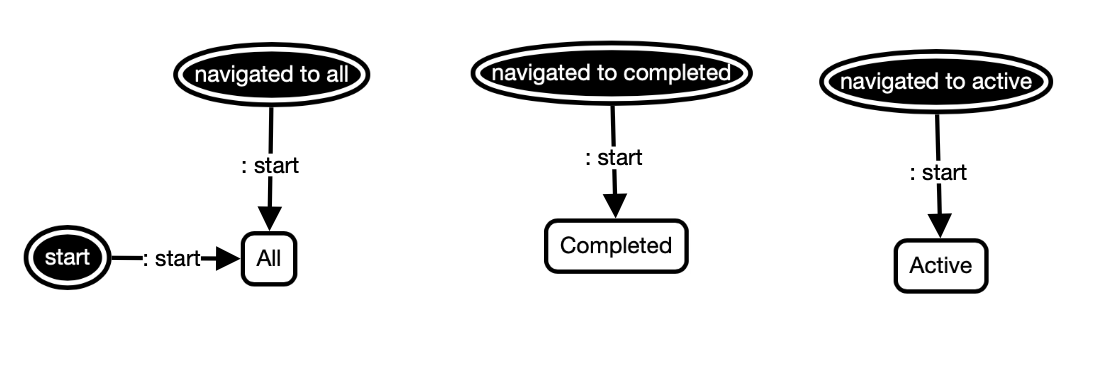
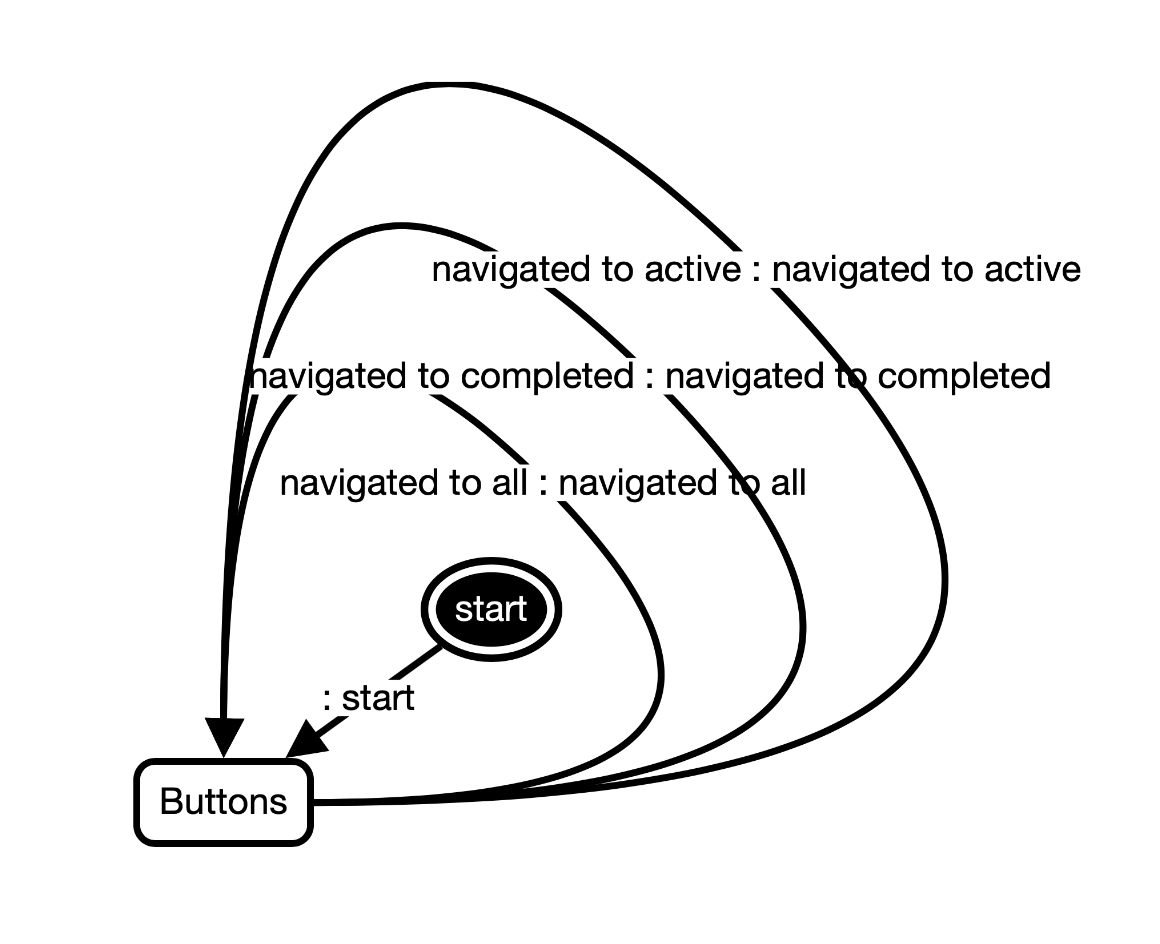
Below are all the possible states of the filter:


Because it's totally possible to navigate from any of the states to any other state, the graph uses entry points in order to avoid state explosion:
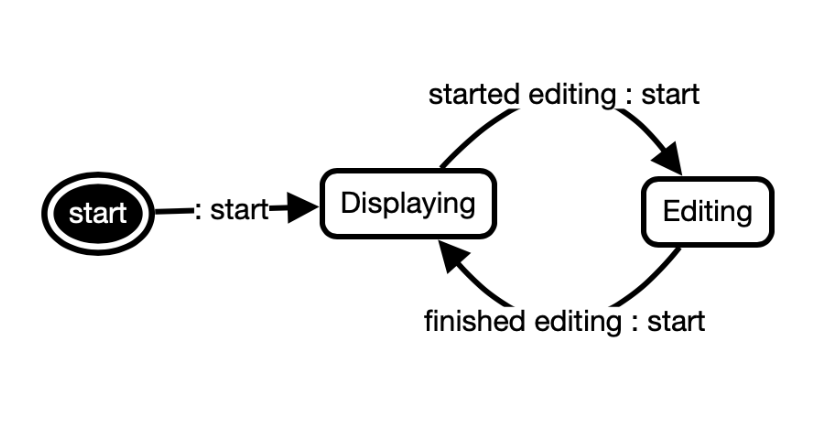
Finally, we're getting closer to the most important part of the TodoMVC app, that is a todo.

It may be either active or completed:
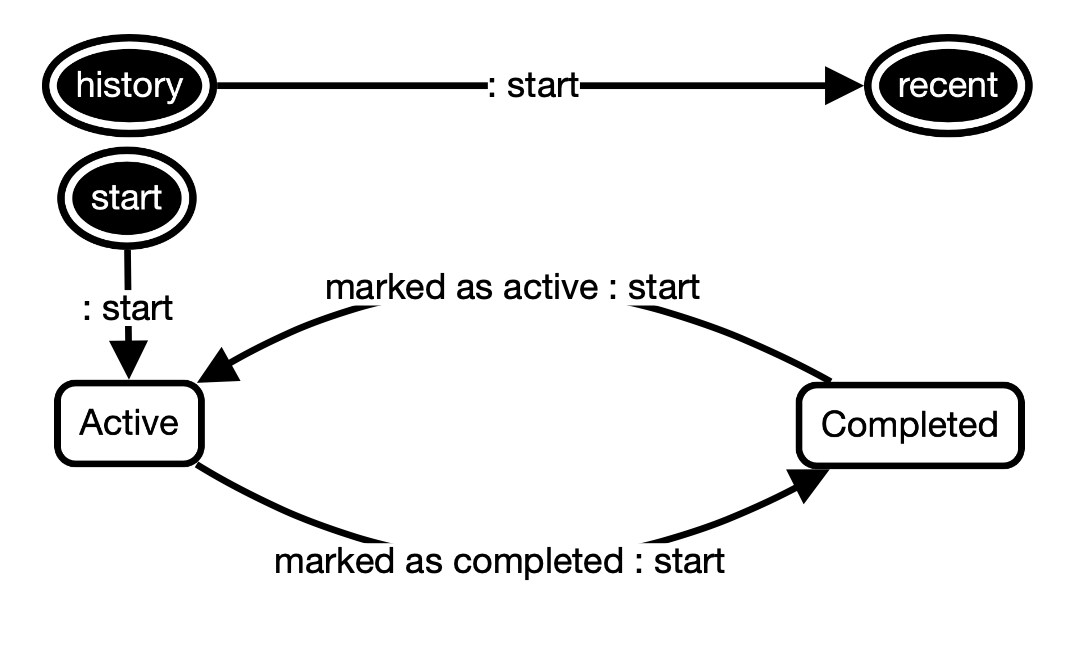
Both active and completed items may be edited.

It indicates that they both have a subgraph saying that they are either being disaplyed or edited:
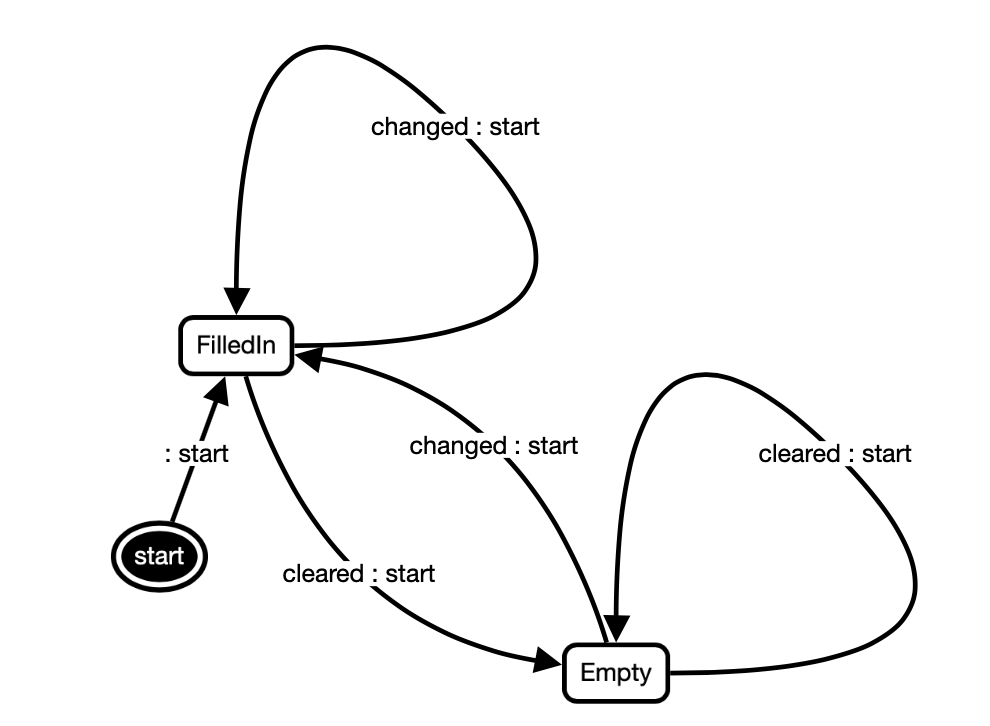
An attempt to change the content of an item to an empty value actually removes this item instead of just updating its content:
This difference in behavior is visible in the graph represending an item that's being edited.
These are all the states that matter from the point of our implementation!
Check out the next part to see the code associated with the nodes visible above.
If you'd like to simply browse the whole code, just visit the GitHub repository of the Rosmaro-TodoMVC app.